7 Common Kitchen Decor Mistakes That Make Your Space Look Dated
Small, fixable choices — flat lighting, crowded counters, matched finishes — date a kitchen far more than...


Kitchens are the one room where lighting has an actual job to do. You rarely notice good kitchen light; you notice the moment your own shadow falls across the cutting board, or the glare that bounces off the counter while you're trying to read a recipe. Most disappointing kitchen lighting comes down to a handful of repeated mistakes, and each one has a fix that doesn't require tearing the room apart.
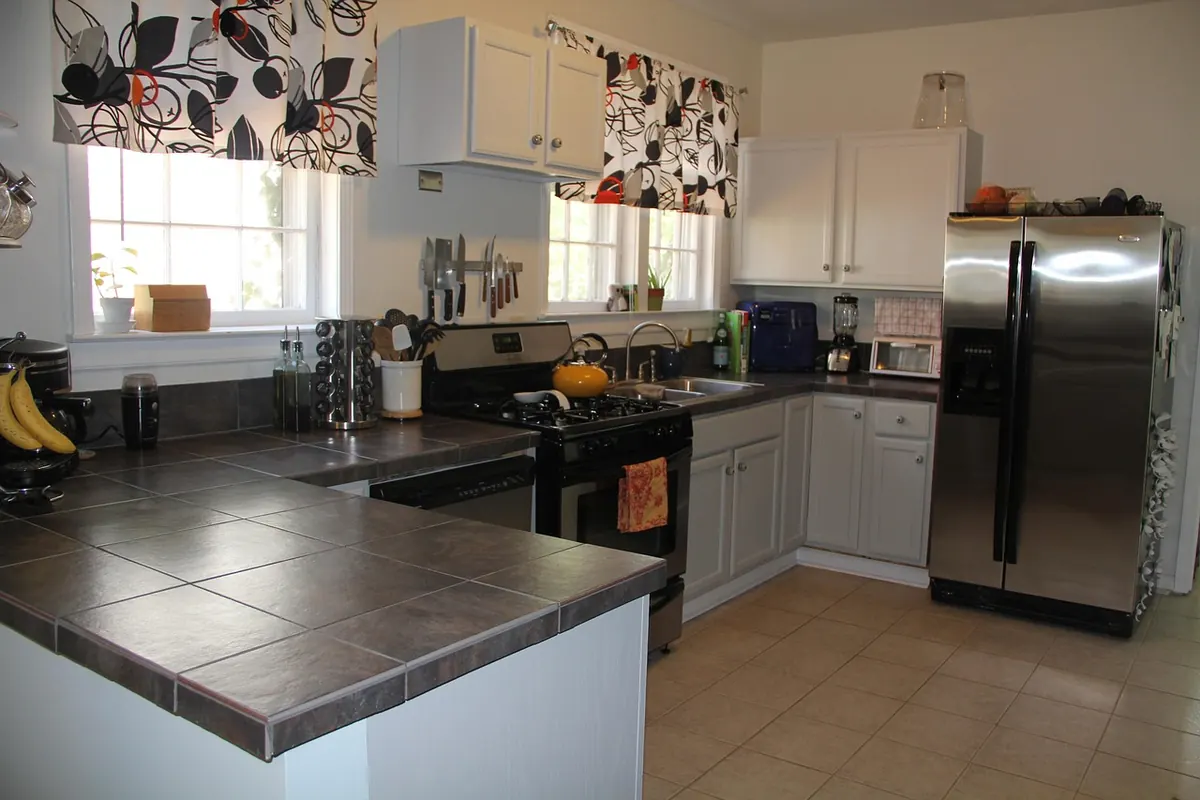
A single flush-mount in the middle of the ceiling lights the floor and the top of your head. The counter, where you actually stand, ends up in the shadow of your own shoulders. Do a quick test tonight: turn on the kitchen light, stand at the sink, and look down at your hands. If they're darker than the rest of the room, the light isn't reaching the work.
The fix is layeriing. A kitchen wants three layers, and they don't all have to arrive at once:
If you only add one thing this year, add under-cabinet lighting. It's the layer you feel every single day.
Two bulbs, two different whites. One corner looks blue and clinical, the other yellowish and tired, and the whole room reads as unfinished even though nothing is actually wrong with the cabinets.
Color temperature is measured in Kelvin, and it describes the white of the light, not how bright it is. Around 2700K feels warm and residential; 3000K to 3500K is crisper and slightly more alert; 4000K and above starts to feel cool and commercial. Pick one range for the kitchen and stay within a few hundred Kelvin of it across every fixture, including the under-cabinet tape. Warm white flatters wood and paint; a slightly cooler white helps with chopping and prep, especially over a dark counter.
Wattage tells you how much energy a bulb draws. A modern LED bulb can be brighter than an old incandescent while using a fraction of the power, so match the lumens when you replace something. Also check dimmer compatibility: LEDs on an old dimmer often flicker or hum, and the usual culprit is a dimmer that isn't rated for LED loads. Buy dimmable bulbs and a matching dimmer in the same trip.
Run LED tape along the back edge of the cabinet, right against the wall, and you get a bright band at the back of the counter and a dim strip at the front — exactly where your cutting board sits. On a glossy surface, bare tape also shows up as a row of visible dots reflected in the stone.
Mount the strip toward the front edge of the cabinet's underside, and set it in an aluminum channel with a diffuser. The channel spreads the light into an even wash and hides the individual diodes. Angle the beam slightly toward the wall so the brightest part lands mid-counter rather than in your eyes.
A few details that save frustration later:
Pendants hung too high become ceiling decoration — you see bright bulbs from across the room and very little useful light on the counter. Hung too low, they block the view across the island and feel like a hat brim. A common starting point is roughly 30 to 36 inches from the countertop to the bottom of the fixture, but treat that as a first guess, not a rule. Stand at the island and look across it: you want to see the person opposite, not the bulb.
Two pendants over a long island leave the ends dim, which is where people usually sit. Three smaller pendants, one linear fixture, or a pair of pendants plus a couple of well-placed recessed lights over the ends will even it out. And keep downlights out of your standing spot: a can directly overhead turns your hands into a hard shadow on the counter. Shift it a foot toward the wall and the problem disappears.
One switch at one door means you either flood the kitchen with light or work in the dark. Split the room into zones so each layer can be used on its own:
Put a switch at every doorway into the kitchen. Crossing a dark room to find a switch behind the refrigerator gets old fast. If adding switches means opening walls or running new cable, that's a job for a licensed electrician — worth the cost, and safer than improvising.
Maintenance matters more than most people expect. Shades and diffusers collect a film of cooking grease that quietly eats your light output; a warm, soapy wipe every couple of months brings it back. Replace bulbs in pairs or sets so the whites stay matched, since LEDs from different batches can vary slightly. Check the fixture's maximum wattage and whether it's rated for enclosed spaces — heat buildup is the usual reason a bulb dies young — and choose damp-rated fixtures over the sink.
Walk into the kitchen after dark and run through this list:
Fix whichever item fails first, then work down the list. Better kitchen lighting almost never comes from one bigger fixture — it comes from several smaller ones aimed at the places where you actually stand.
Photo: JillWellington / Pixabay
Small, fixable choices — flat lighting, crowded counters, matched finishes — date a kitchen far more than...
Smart layout, double-duty furniture and vertical storage let small city apartments feel open without...
Ten countertop items worth keeping out, plus placement rules, zone planning, and a five-minute reset that...