7 Common Kitchen Decor Mistakes That Make Your Space Look Dated
Small, fixable choices — flat lighting, crowded counters, matched finishes — date a kitchen far more than...

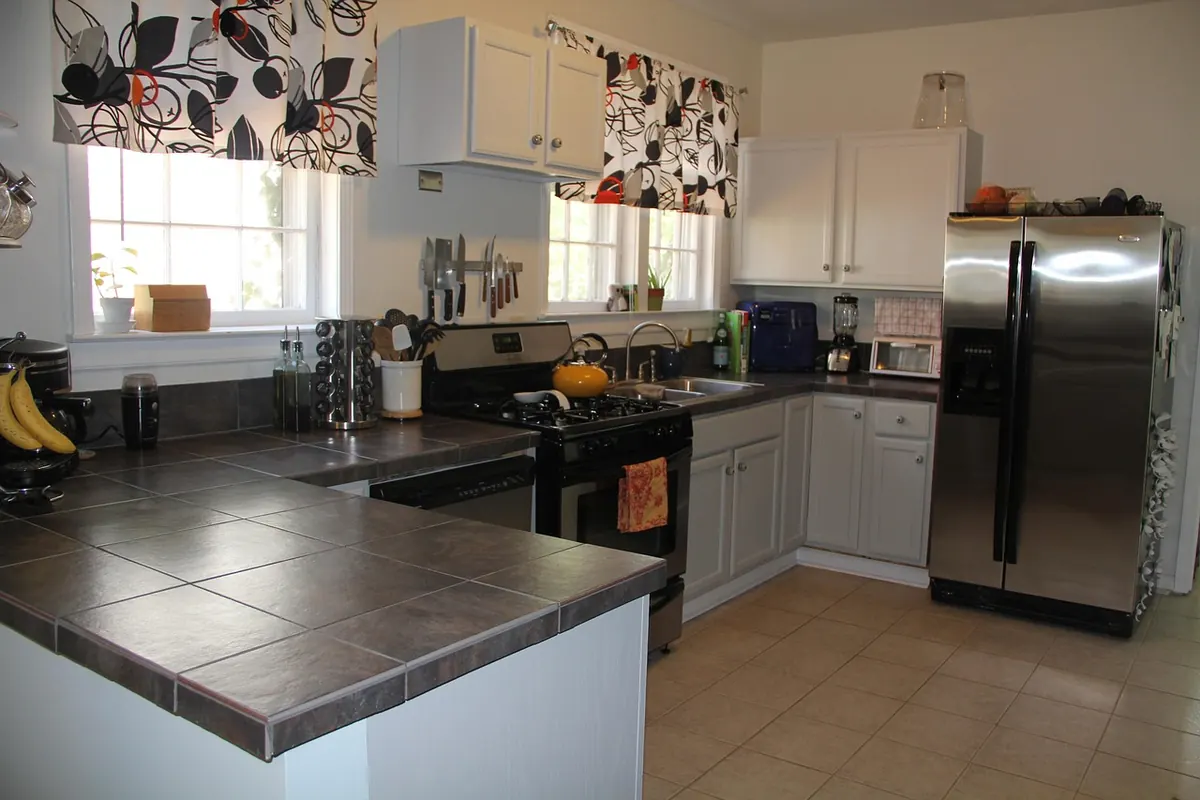
Kitchen counters are honest surfaces. Whatever lands on them on Monday tends to still be there on Friday, joined by a rubber band, two receipts, and a charger for a phone you replaced last year. Taming that drift doesn't require a stricter personality. It takes a short list of things that genuinely deserve the space, and a habit of clearing everything else.
Here's a working checklist: ten items that pull their weight during daily cooking and still look intentional once the dishes are done. Use all ten, or trim it to five. The point is to decide once instead of shuffling clutter every evening.
Styling a crowded counter is like arranging furniture in a hallway. Empty the whole surface first — appliances, jars, stray lids — and pile it somewhere you can see. Wipe the stone down. What's left is your canvas, and it's smaller than you think once the sink, range, and fridge doors are accounted for.
Sort the pile into three stacks: used daily, used weekly, and here by accident. The first stack is your candidate list. The second belongs in a cabinet near where it's used. The third goes to its actual home, which is rarely the countertop.
Be strict about the difference between "I use this constantly" and "I bought this and feel guilty about it." The air fryer that runs twice a month, the bread machine from a hopeful January, the blender you keep out because taking it apart is a chore — those are cabinet residents, not counter furniture. They cost you a square foot each and give back almost nothing.
One test settles most arguments: does the item have to move before you can chop an onion? If yes, it isn't styled, it's in the way. Track how often you shift something during a normal week. Anything you relocate more than twice belongs somewhere else.
These ten pieces survive the sort most often. None of them are precious; the value is in choosing items that do a job and look good doing it.
Ten objects can still look like ten separate objects. A few placement rules do most of the work.
Some items feel essential because they've been out for years. Run them through the daily-use question and most will fail.
An arrangement only holds if you maintain it, and maintenance doesn't need to be a project. Once a week — Sunday evening works well — walk the counter with a small basket and drop in everything that doesn't belong. Return each item to its real home, wipe the stone, top off the salt cellar, turn the plant a quarter turn, and straighten the tray.
The basket is the whole trick. Carrying one thing at a time invites distraction; carrying a basket means you finish the loop in a few minutes. Do it before you start dinner rather than after, when you'll be tempted to leave the dishes and walk away.
If a counter is cleared once and then never touched again, it isn't styled — it's abandoned. Five minutes a week is the difference between a look and a habit.
A four-foot run of counter can't hold ten items and still function. Cut the list to five and let vertical space absorb the rest: a wall-mounted rail for utensils, a floating shelf for the oil and vinegar, a hook under the upper cabinet for the towels. Choose one tray instead of three, and pick the tallest, narrowest crock you can find to preserve working depth. In tight kitchens, every inch of counter should be either a tool you reach for daily or genuine empty space — there's no room for the middle ground.
None of this is about having a showroom. It's about a surface that tells you where things are and then gets out of the way. Pick your keepers, give them a home, and let the rest of the counter stay empty. That empty stretch is the point — it's the part that makes cooking feel unhurried.
Photo: landersb / Pixabay
Small, fixable choices — flat lighting, crowded counters, matched finishes — date a kitchen far more than...
Smart layout, double-duty furniture and vertical storage let small city apartments feel open without...
Ambient lighting keeps a room usable; task lighting makes it work. Here's how each layer functions, where...